PORSCHE 911 / DIGITAL RECONSTRUCTION & RESTORATION
1990 RWB Porsche 911 Widebody Reconstruction
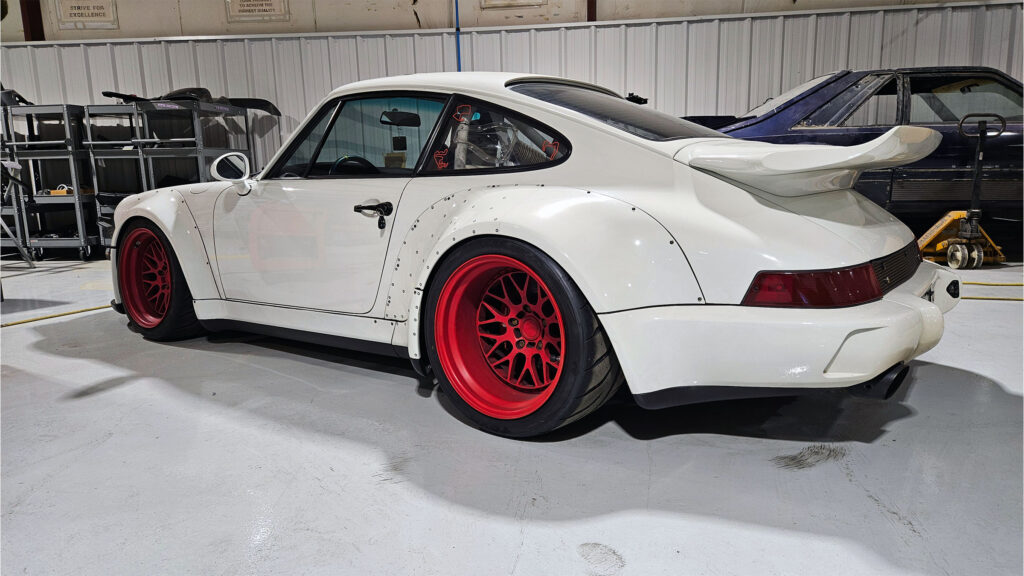
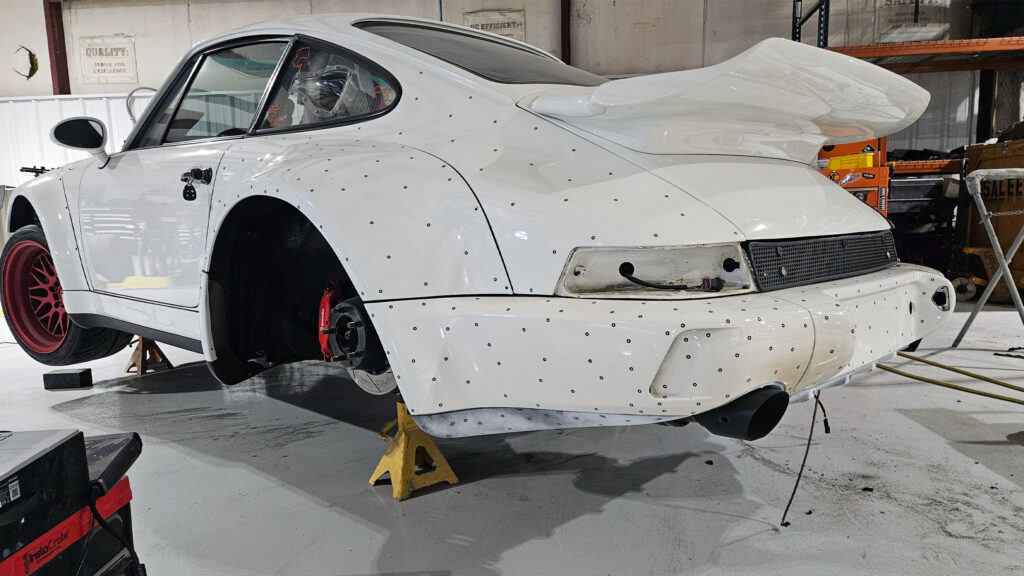
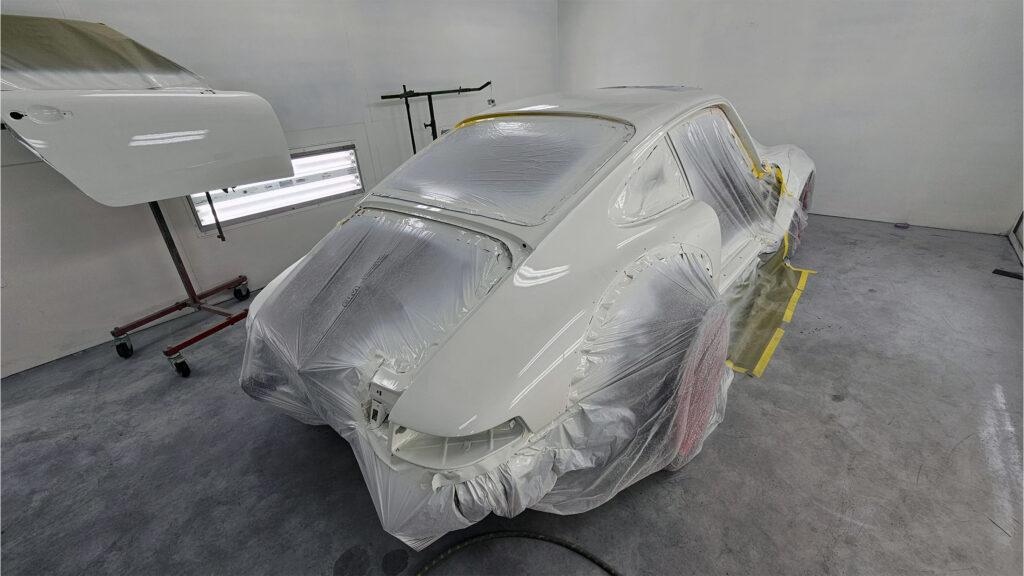
When irreplaceable hand-built bodywork was destroyed during a high-speed tire failure, replacement parts did not exist. Restoring this RWB Porsche required a combination of OEM sheet-metal repair, 3D scanning, CAD reverse engineering, mold production, hand-laid composite fabrication and traditional paintwork.
01 / THE VEHICLE
A Special Porsche Built to Be Driven.
This 1990 Porsche 911 was originally transformed by RWB with its signature hand-built widebody conversion. The owner regularly drives and enjoys the vehicle rather than treating it as a static display piece.
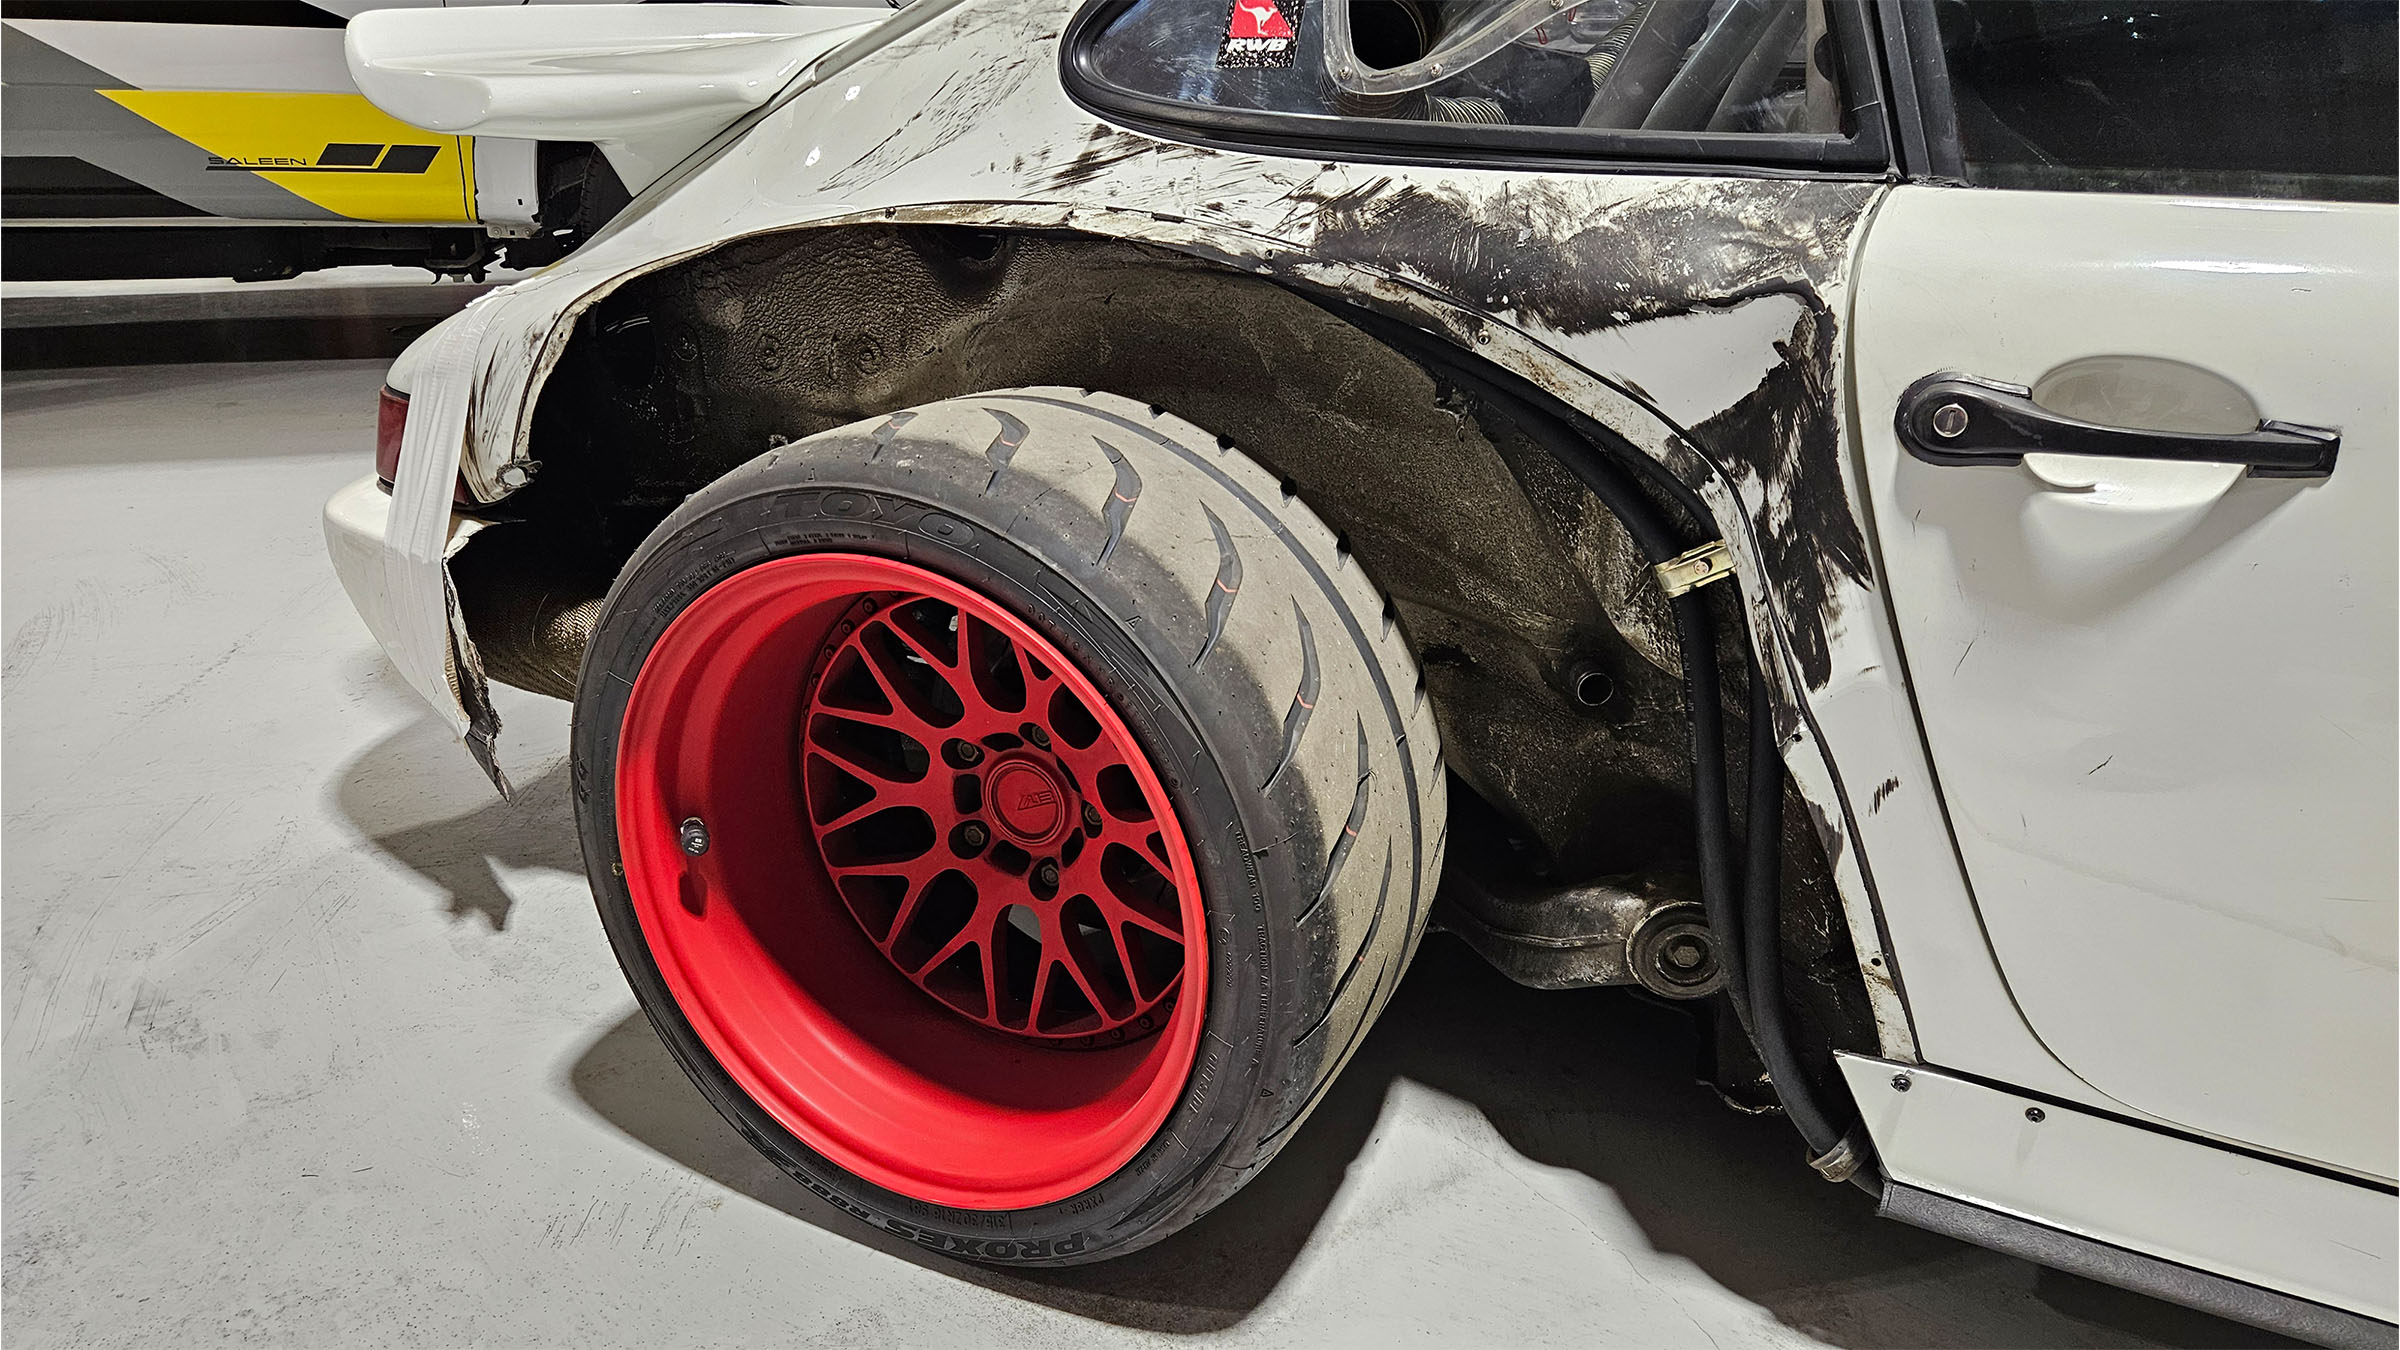
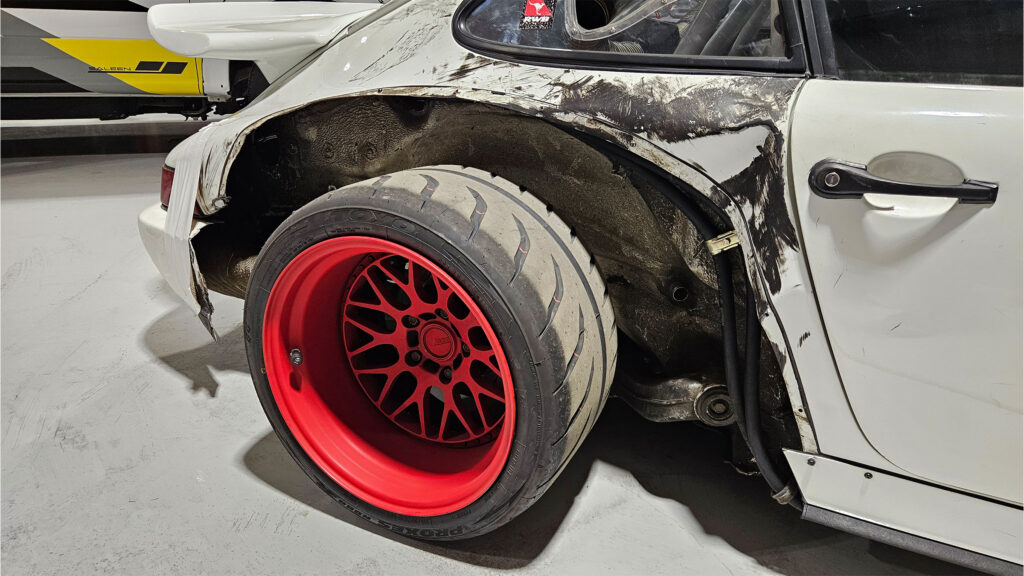
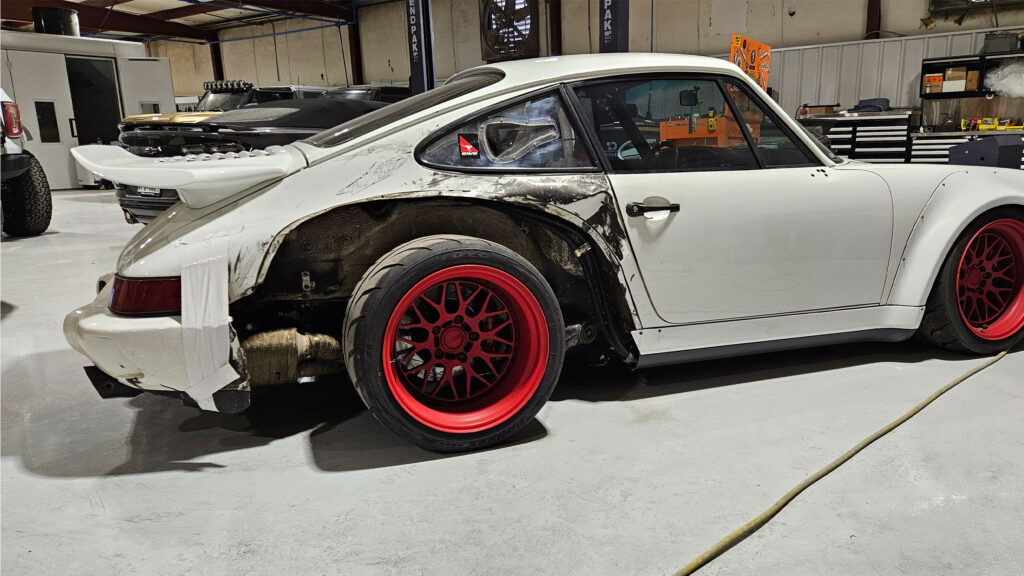
During a high-speed track event, the right-rear tire failed and came apart. The owner maintained control of the vehicle, but the tire failure destroyed the right widebody flare, quarter panel, rocker and rear bumper cover.
02 / THE CHALLENGE
Restoring Parts That Could Not Be Replaced.
The damaged RWB components had originally been shaped and fitted by hand. Replacement parts and production tooling were no longer available, leaving no conventional path to repair the vehicle.
Rather than approximate the original design, our team took on the task of reconstructing the entire right-rear section from the undamaged opposite side of the car.
03 / OEM SHEET-METAL REPAIR
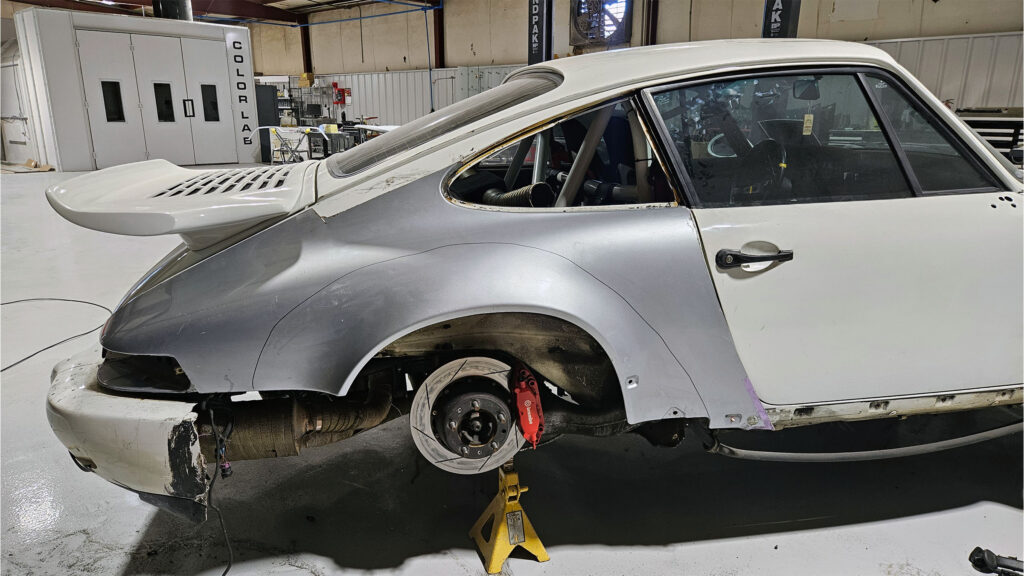
Rebuilding the Foundation First.
The damaged quarter-panel sheet metal was removed and replaced with OEM Porsche sheet metal. The replacement panel was carefully sectioned and integrated into the vehicle using factory-aligned repair practices, creating the correct foundation for reconstructing the widebody.
04 / 3D SCANNING & CAD
Using the Original Car as the Master.
With no replacement body parts available, we digitally scanned the intact left side of the Porsche. That in-house scan data captured the original widebody shape, proportions and transitions directly from the vehicle.
The scan data was reverse engineered into clean CAD surfaces and then mirrored to recreate the missing right-side geometry. This gave us accurate digital data derived from the original RWB bodywork rather than relying on photographs or measurements alone.
05 / TOOLING & COMPOSITES
From Digital Surfaces to Hand-Laid Parts.
Using the reconstructed right-side CAD data, we produced prototype tooling and molds for the replacement widebody components. New fiberglass-reinforced plastic parts were then hand laid in the same construction style as the original pieces.
The replacement quarter flare, rocker and adjoining components were dry fitted repeatedly, surfaced and refined until their contours, alignment and transitions matched the undamaged side of the Porsche.
06 / PAINT & INSTALLATION
Making the Reconstruction Disappear.
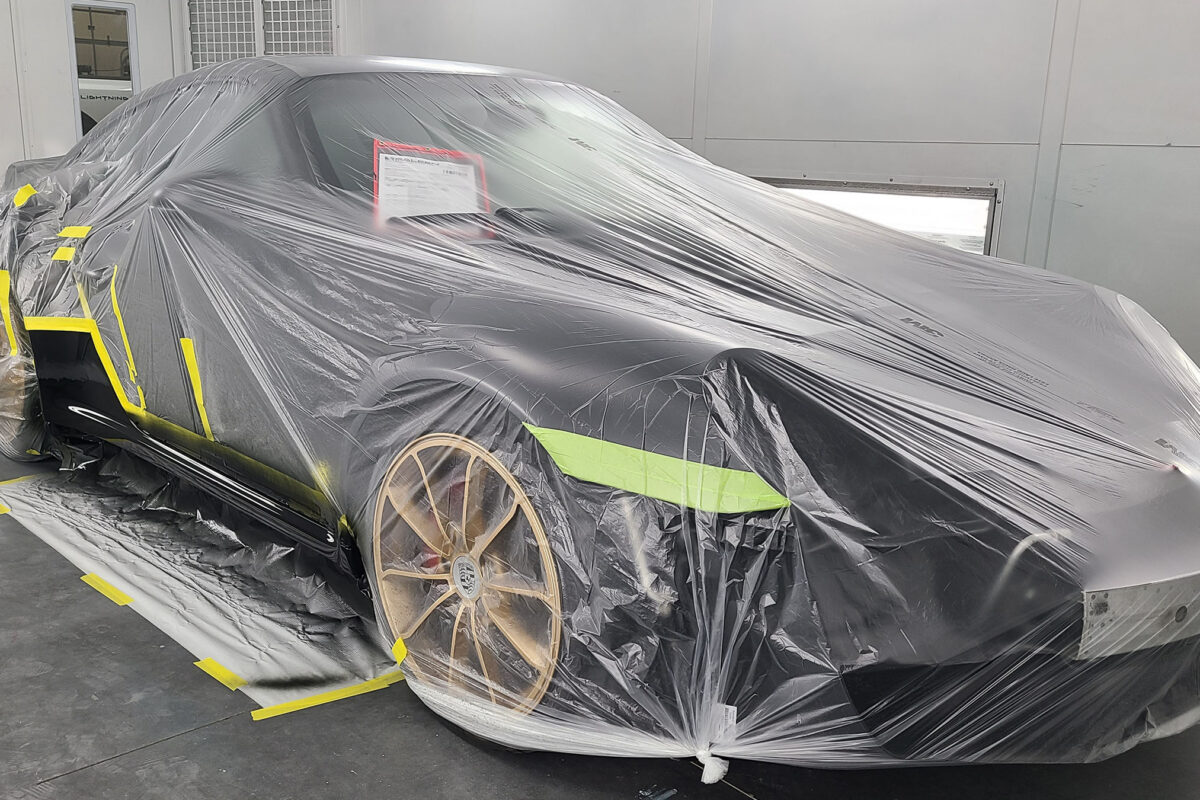
After final fitment, the newly fabricated components were prepared, painted and installed. Particular attention was paid to panel transitions and the signature RWB proportions so the repaired side would remain visually consistent with the original hand-built conversion.
07 / THE RESULT
Back to Exactly How It Was.
The completed Porsche retained the appearance and character of the original RWB build. The owner was extremely pleased with the reconstruction and confirmed that the finished vehicle looked exactly as it had before the incident.
This project demonstrates our team’s ability to restore truly unobtainable bodywork by combining digital engineering, composite fabrication, collision repair and custom paint under one roof.
PROJECT DETAILS
Reconstruction Scope
- 1990 RWB Porsche 911 widebody
- High-speed right-rear tire-failure damage
- OEM Porsche quarter-panel sheet-metal replacement
- Factory-aligned sheet-metal integration
- In-house 3D scanning of the intact left side
- CAD reverse engineering of the original RWB bodywork
- Mirrored right-side surface development
- Prototype tooling and mold production
- Hand-laid FRP replacement components
- Right widebody flare reconstruction
- Rocker-panel reconstruction
- Rear bumper-cover restoration
- Repeated dry fitting and surface refinement
- Final paint and component installation